After some showers on Friday, I was excited to head out to some newly discovered moist spots for more chanterelles with my trusty mushroom hunting protegee, Scott. We skipped "the usual" spot and went to the spot we discovered a couple weeks ago and explored more adjacent areas. We even went in for a walk on some trails closed to mountain bikes because we were on foot - and Scott had never been on these trails because he was always in this area on a mountain bike. Scott noticed that "there are a ot of cobwebs across this trail!"
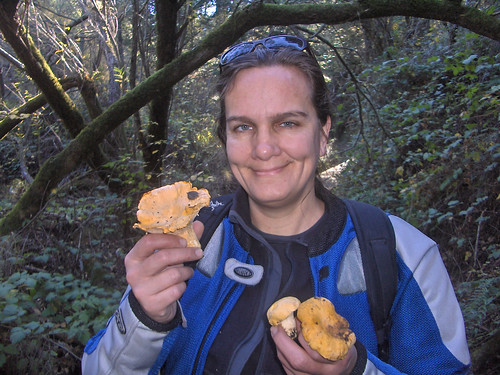
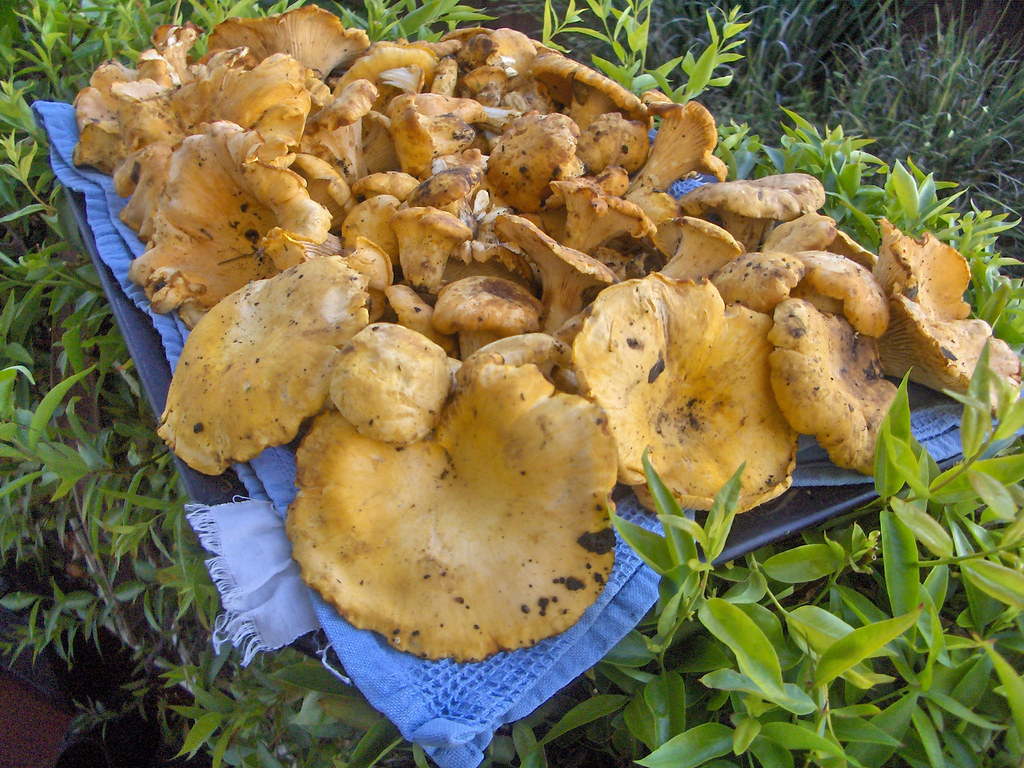
Of course, that's a GOOD sign - and I kept scanning the ground. After the second or third time he said that, I stopped him and said "Well, we could go back or - we could pick those mushrooms." Wouldn't you know it - after picking several pounds of chanterelles, we nearly stepped on some growing ON the trail. We crawled into the underbrush and picked more mushrooms, returning home victorious with 5# of beautiful golden chanterelles.
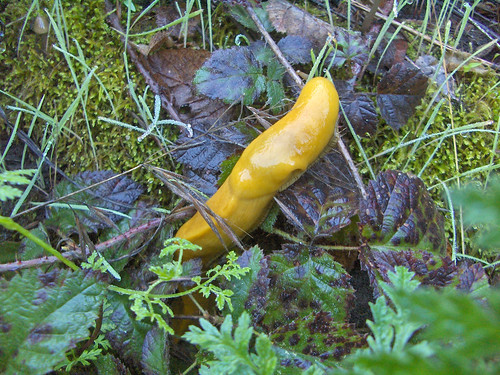
Giant banana slug
Corcorra!
Little white funguses that look like mung bean sprouts everywhere:
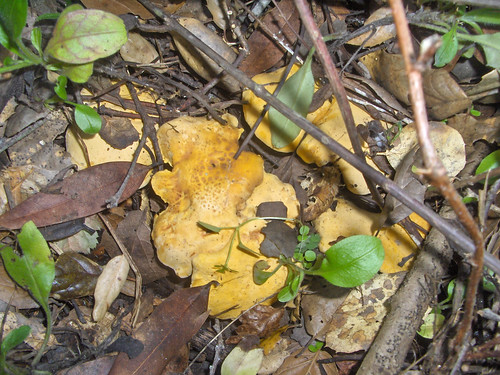
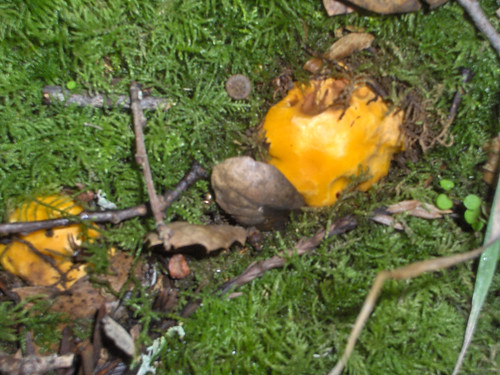
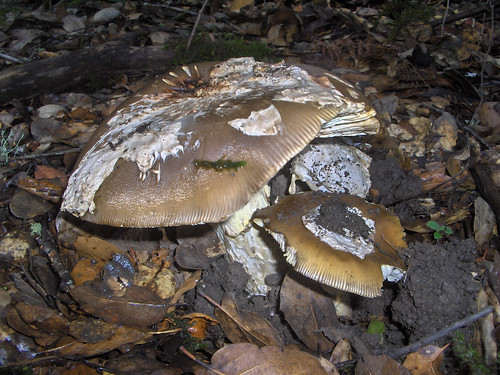
Pretty - large - shrooms growing under bay trees:
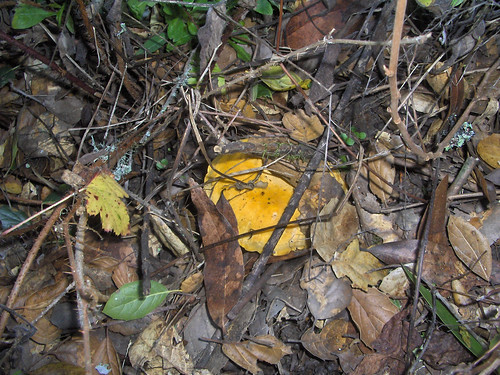
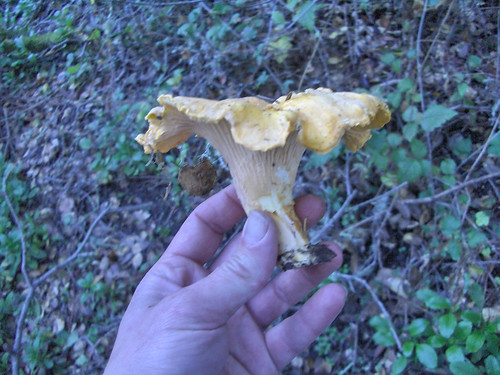
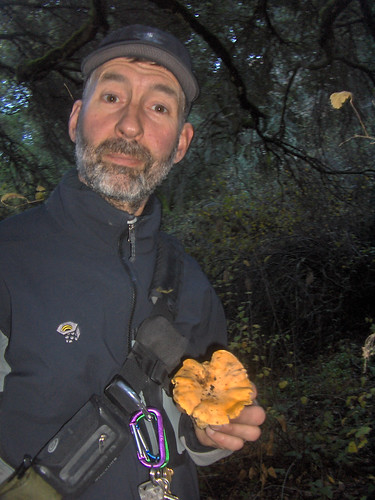
Yup! It's a chanterelle!
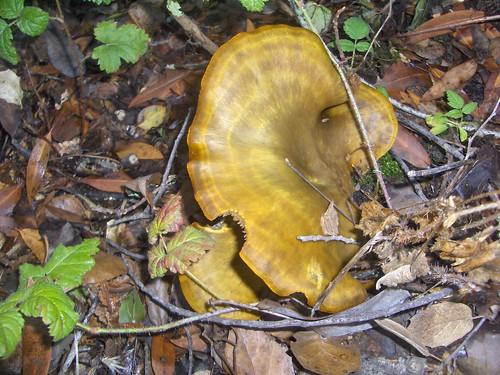
Growing right on the trail!
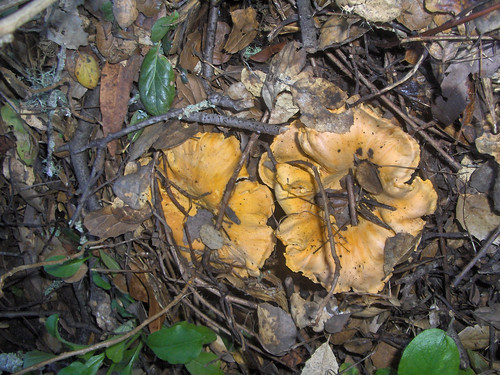
More beautiful fungi -