My dear friend Jon loves carpentry projects -- he helped me out with the first step of the solar dehydrator project by taking me to Ashby Lumber to pick up supplies and then he cut up all the pieces a few weeks ago.
The project should have been easy enough to assemble -- but I was swamped with canning projects. My brother offered to help -- he thought it should be a snap, but Jon and I missed something in the tiny plans that resulted in a "Hey, we have a lot of extra 1" x 2"" and self-congratulatory slaps on the back for efficient chop saw use. My brother pointed out that the plans showed an internal frame -- four pieces on the backside of both vent ends and two pieces lengthwise.
Tonya Kay's sweetie made the construction of this solar dehydrator look easy, but we had some problems figuring out measurements for some of these things because of the difficulty of seeing all the parts on the plan. I also realize that he did a lot of modifications (using window screens and a totally different cover, for example).
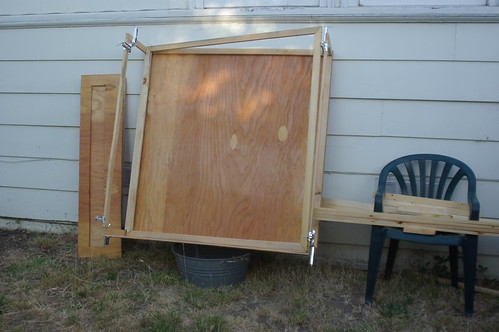
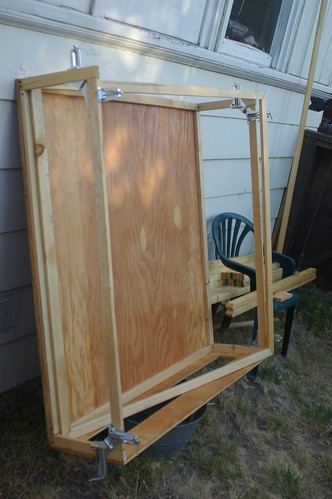
My brother and I tried to figure out the correct dimensions of the internal frame - given that the sides are supposed to sit on top of the 48" square back. However, there was a slight miscalculation resulting in Tom cutting the pieces to totally fit flush along the edge of the back.
The other problem was that he was gluing as he was screwing -- instead of screwing everything together to make sure it fit, and then taking it apart, applying the glue and rescrewing it together. My brother didn't take this project as seriously as I wished -- he said, "Hey, it's just a box, we'll make it fit."
I tried to explain to him that this was now approaching $200 in materials, was to be used for food and had to have square edges with minimal gaps so that critters would be (mostly) kept away from the food -- to no avail. He accused me of "micro-managing" and wouldn't answer my question, "What is the problem with sticking to the plan if we have one?"
So, while the glue was still wet, I unscrewed the vent sides from the frame, then cut off the pieces that formed the frame. After a discussion with a neighbor who is a contractor, and my friend Jon about how to "make it work" -- a light went off in my head: use the other side!
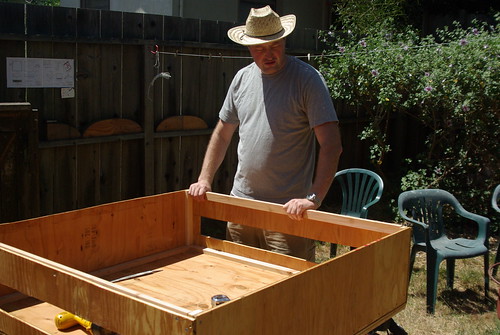
Today, Jon and I put the dehydrator and shelves together. The biggest trouble we had was correctly figuring out the size of the internal frame. His plan was to put the internal frame together along with the sides -- it doesn't have to be an independently stable frame -- the internal frame just has to provide more stability. And, now that we have additional 1" x 2" along the outside edges on the back side, I think we have plenty of box stability.
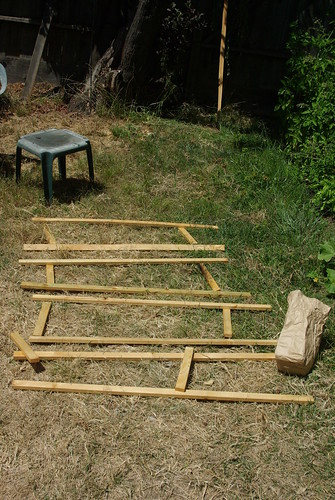
I put together the shelves...
And then we had some beers and watched some movies. The next step is to paint and finish polyurethane.


No comments:
Post a Comment